If you’re searching for a clear, practical guide to mechanical keyboard customization, you’re likely looking to improve performance, sound, feel, or aesthetics—without wasting money on the wrong parts. The world of switches, keycaps, stabilizers, firmware, and mods can get technical fast, and not every upgrade delivers the results you expect.
This article is designed to cut through the noise. We break down the core mechanics behind keyboard performance, explain how each component affects typing and gaming responsiveness, and outline proven modding techniques that actually make a difference. Whether you’re optimizing for competitive play, long typing sessions, or a premium acoustic profile, you’ll find step-by-step insights grounded in real-world testing and hands-on experience.
Our guidance is based on deep analysis of keyboard mechanics, extensive build experimentation, and practical optimization strategies used by dedicated enthusiasts and competitive players alike. By the end, you’ll know exactly which upgrades matter—and how to execute them with confidence.
Ever feel like your keyboard is fighting you instead of flowing with you? Stock boards are built for the average user—but when was the last time you felt average? In this guide, we’ll break down mechanical keyboard customization from simple keycap swaps to advanced switch lubing and stabilizer tuning. Wondering if cosmetic changes really matter? Or whether performance mods actually improve speed and comfort? We’ll tackle both. Along the way, you’ll learn what each upgrade does, why it matters, and how to choose parts that match your typing style. Ready to build something that finally feels like yours? Let’s begin.
Keycaps: The Face of Your Keyboard
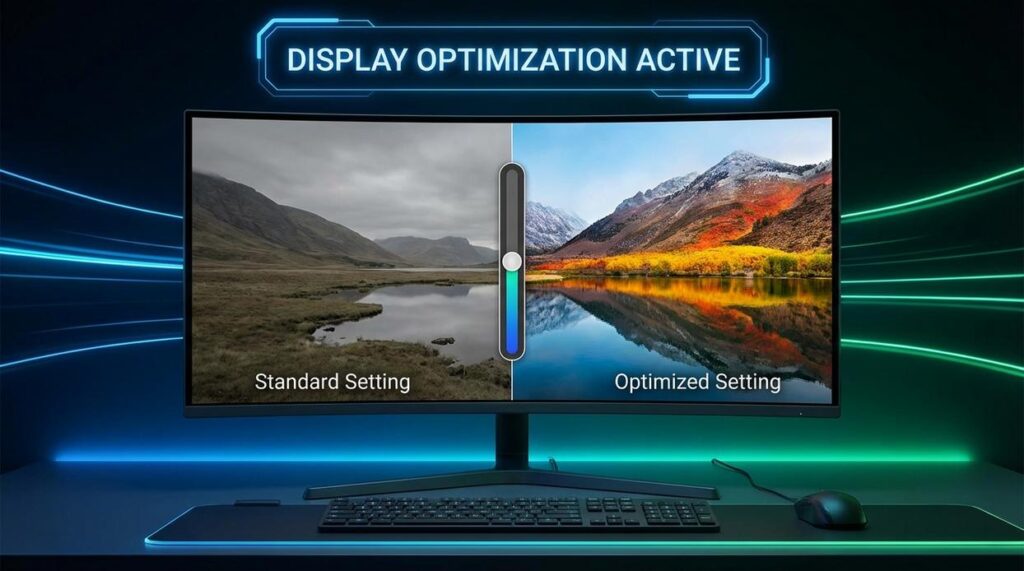
For those eager to enhance their typing speed, exploring mechanical keyboard customization tips can make a significant difference, much like how optimizing configuration plays a crucial role in gaming setups, as detailed in our article on When Hondingo88 Patches Pc.
Keycaps are the most visible part of your board—and the most debated. PBT vs. ABS is the classic showdown. PBT (polybutylene terephthalate) is a dense, heat-resistant plastic known for durability and a textured feel. It resists shine over time (great if you hate that greasy gamer gloss). ABS (acrylonitrile butadiene styrene), on the other hand, is smoother, lighter, and often more vibrant in color. Critics argue ABS feels cheaper—and yes, it can shine faster—but high-quality doubleshot ABS is prized for its crisp legends and bright aesthetics.
Now compare profiles. Cherry is low and sculpted for ergonomic efficiency. SA is tall and spherical, delivering a retro typewriter vibe (think Fallout terminal energy). OEM sits in the middle: familiar, comfortable, safe. If you prioritize speed and minimal finger travel, Cherry wins. If you want drama and sound depth, SA dominates.
Printing methods matter too. Doubleshot vs. dye-sublimation: doubleshot molds legends from a second plastic layer, meaning they’ll never fade. Dye-sub infuses dye into PBT, also long-lasting but limited to darker legends on lighter caps. Pro tip: if longevity is your top concern, doubleshot is the gold standard.
Cases & Frames: The Foundation
Your case defines weight, sound, and rigidity. Plastic vs. aluminum is portability versus premium heft. Aluminum feels solid and produces a sharper acoustic profile. Plastic is lighter and often quieter. Polycarbonate? A softer, deeper sound signature with visual flair.
Mounting style shifts the feel. Tray-mount is firm and direct. Gasket-mount introduces flex and dampening for a softer typing experience.
- Foundation matters
- Sound profile shifts with material
- Flex changes comfort
In mechanical keyboard customization, these A vs. B choices determine whether your board feels clinical or expressive.
Choosing Your Switches
First things first, switches are the soul of any keyboard. You’ve got three core types: Linears, Tactiles, and Clickys. Linears move straight down with no bump, making them ideal for fast-paced gaming where rapid key presses matter. Think of speedrunners shaving milliseconds (every frame counts). Tactiles, on the other hand, have a noticeable bump at the actuation point—the moment a keypress registers. Actuation force refers to how much pressure (measured in grams) you need to press the key, while travel distance is how far the key moves before bottoming out. Clickys add an audible snap alongside that bump. Some love the typewriter nostalgia; others hear pure chaos.
Now, some argue that “any switch is fine if you practice enough.” I disagree. Your switch should match your intent. Heavy tactiles can reduce accidental presses during strategy games, while light linears feel effortless during long typing sessions. Pro tip: if you bottom out hard, consider slightly heavier springs to reduce finger fatigue over time.
The Art of Lubing Switches

Next up, lubrication. I’ll say it plainly: this is the single biggest upgrade in mechanical keyboard customization. Stock switches often feel scratchy due to friction between the stem and housing. Applying a thin layer of specialized lubricant smooths that contact, dampens unwanted noise, and deepens the sound profile. It’s the difference between a rattly shopping cart and a luxury sedan door thud.
Some purists insist factory feel is “authentic.” Maybe. But once you try a properly lubed switch, going back feels like downgrading from HD to standard definition. For gamers dialing in their full setup, pairing this with smart tweaks like audio settings optimization for immersive and tactical gaming creates a surprisingly cohesive sensory upgrade.
Stabilizer Tuning for Consistency
Finally, don’t ignore stabilizers. These support larger keys like spacebar and shift. Without tuning and lubrication, they rattle. And honestly, nothing ruins a premium build faster. Clip, lube, balance—suddenly every key feels unified and intentional.
Engineering Your Keyboard’s Sound Profile
Internal Dampening: The Power of Foam (100 words)
If you’ve never opened your keyboard and added foam, you’re missing half the fun. Internal dampening refers to placing sound-absorbing material—usually EVA or Poron foam—inside the case to reduce unwanted high-pitched frequencies (sharp, metallic echoes caused by empty space). Without it, many boards sound hollow, like typing in a cereal bowl (yes, really).
Some purists argue foam “kills character.” I disagree. Done right, it refines character. The result is a deeper thock (low, bassy keystroke sound) or a cleaner clack (crisp, higher-pitched tone). Pro tip: Don’t overstuff. Too much foam can choke resonance and make everything feel lifeless.
Simple & Effective: The ‘Tape Mod’ (50 words)
The tape mod involves placing painter’s tape on the back of your PCB (printed circuit board) to subtly deepen acoustics. It’s cheap, reversible, and surprisingly effective. Critics call it hype, but in my experience, it adds a satisfying pop—like giving your keyboard a minor bass boost.
The Final Layer: Desk Mats (50 words)
Your desk surface matters more than people admit. A quality desk mat absorbs vibrations and stabilizes sound reflection. Without one, your board can sound inconsistent or harsh. In mechanical keyboard customization, this is the underrated final step. Think of it as acoustic framing for your masterpiece.
Your Personalization Roadmap
Personalizing a keyboard isn’t a single upgrade—it’s a progression. On one hand, you have surface-level changes like keycaps: brighter colors, sharper legends, a new texture under your fingertips. On the other hand, there’s deep performance tuning—foam mods, stabilizer tuning, and switch swaps that reshape sound and feel. Aesthetic vs acoustic. Visual flair vs tactile precision.
At first glance, some argue a stock keyboard works just fine. And technically, it does. However, “fine” isn’t the same as tailored. A generic board offers uniform feedback; a customized one responds exactly how you prefer—lighter or heavier, thocky or clacky (yes, that debate is real).
That’s why mechanical keyboard customization becomes a journey. Each change directly affects how your hands and ears experience every keystroke. For example, lubed stabilizers reduce rattle compared to factory-installed ones, while internal foam dampens ping versus hollow stock cases.
So where should you begin? Start simple—new keycaps or a bit of stabilizer lube. Then compare before and after. Small tweak, noticeable difference. And just like that, your tool becomes uniquely yours.
Level Up Your Setup and Strategy Today
You came here to sharpen your edge—whether that means mastering core mechanics, optimizing your loadout, or diving deeper into mechanical keyboard customization to gain a competitive advantage. Now you have the insights to fine-tune your gameplay, avoid common mistakes, and make smarter decisions both in and out of the game.
The real frustration isn’t lack of effort—it’s wasting time on trial and error, outdated builds, or generic advice that doesn’t match your goals. When your setup isn’t optimized and your strategy isn’t refined, progress feels slow and inconsistent.
That’s where focused, expert-driven guidance changes everything.
If you’re ready to play smarter, mod better, and optimize your gear like a pro, take the next step now. Explore our in-depth guides, apply the strategies you’ve learned, and upgrade your setup with proven methods trusted by serious players. Don’t settle for average performance—dial in your mechanics, refine your build, and start dominating today.
 Kelvor Thryndell is the kind of writer who genuinely cannot publish something without checking it twice. Maybe three times. They came to gamer gear optimization hacks through years of hands-on work rather than theory, which means the things they writes about — Gamer Gear Optimization Hacks, Tech-Powered Game Strategy Guides, Pro Perspectives, among other areas — are things they has actually tested, questioned, and revised opinions on more than once.
That shows in the work. Kelvor's pieces tend to go a level deeper than most. Not in a way that becomes unreadable, but in a way that makes you realize you'd been missing something important. They has a habit of finding the detail that everybody else glosses over and making it the center of the story — which sounds simple, but takes a rare combination of curiosity and patience to pull off consistently. The writing never feels rushed. It feels like someone who sat with the subject long enough to actually understand it.
Outside of specific topics, what Kelvor cares about most is whether the reader walks away with something useful. Not impressed. Not entertained. Useful. That's a harder bar to clear than it sounds, and they clears it more often than not — which is why readers tend to remember Kelvor's articles long after they've forgotten the headline.
Kelvor Thryndell is the kind of writer who genuinely cannot publish something without checking it twice. Maybe three times. They came to gamer gear optimization hacks through years of hands-on work rather than theory, which means the things they writes about — Gamer Gear Optimization Hacks, Tech-Powered Game Strategy Guides, Pro Perspectives, among other areas — are things they has actually tested, questioned, and revised opinions on more than once.
That shows in the work. Kelvor's pieces tend to go a level deeper than most. Not in a way that becomes unreadable, but in a way that makes you realize you'd been missing something important. They has a habit of finding the detail that everybody else glosses over and making it the center of the story — which sounds simple, but takes a rare combination of curiosity and patience to pull off consistently. The writing never feels rushed. It feels like someone who sat with the subject long enough to actually understand it.
Outside of specific topics, what Kelvor cares about most is whether the reader walks away with something useful. Not impressed. Not entertained. Useful. That's a harder bar to clear than it sounds, and they clears it more often than not — which is why readers tend to remember Kelvor's articles long after they've forgotten the headline.